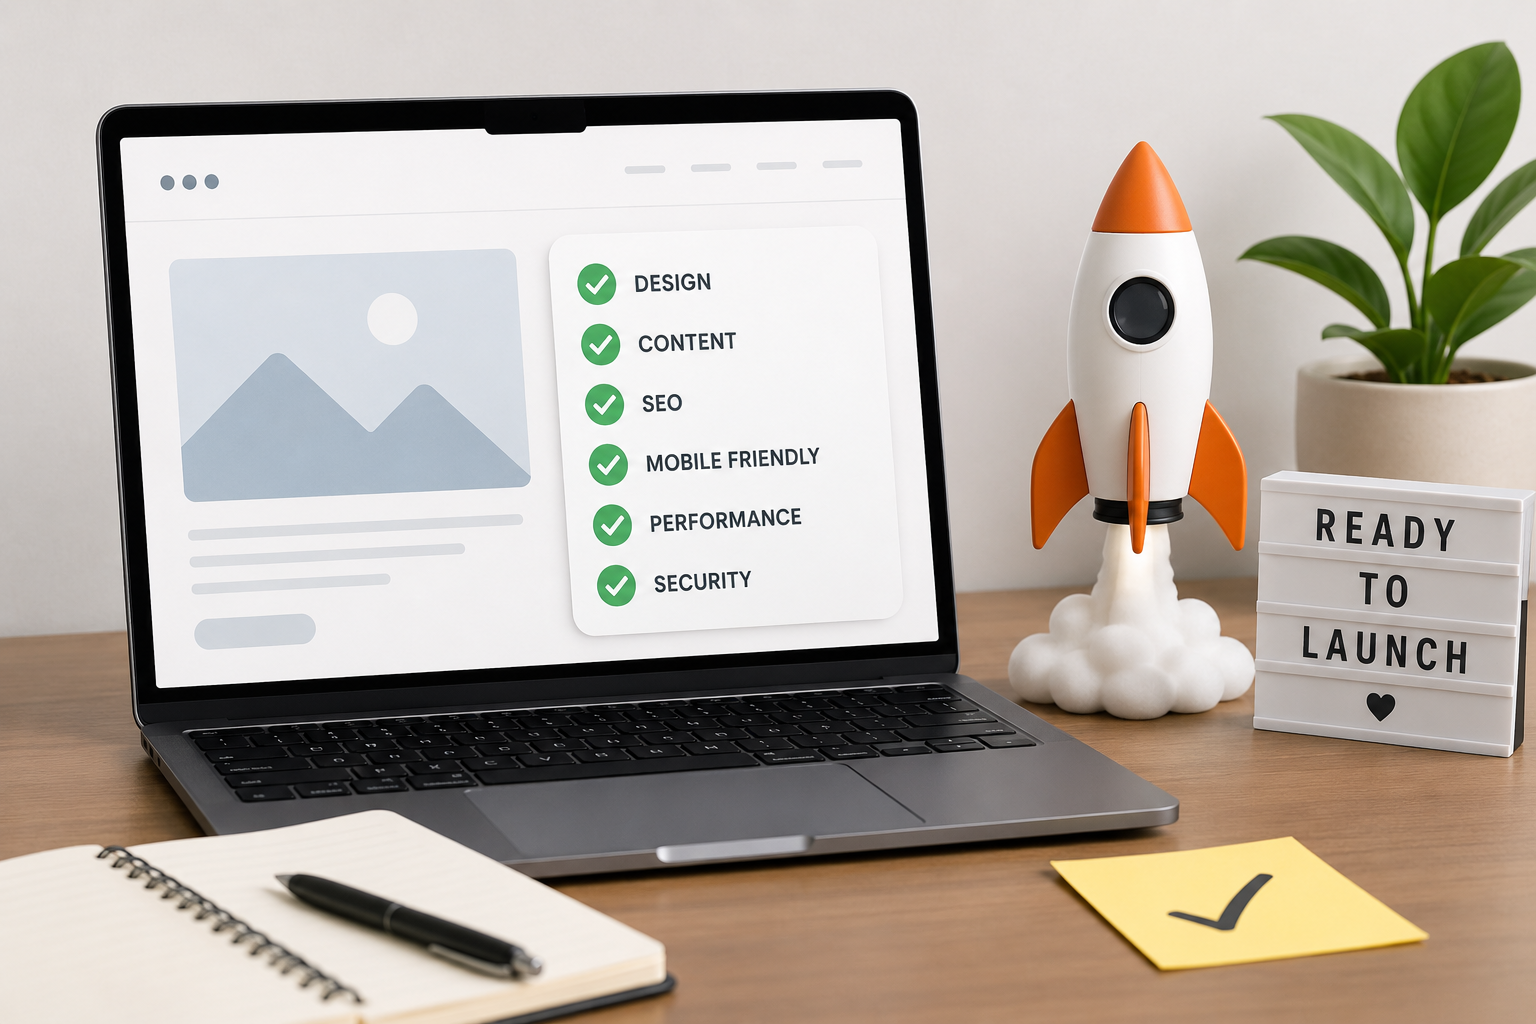
Launching a new website feels exciting, but the “Publish” button should never be the first real test of your site. A website that looks good on your screen can still have broken links, slow pages, missing metadata, blocked search engines, poor mobile layouts, weak security, or no analytics tracking.
Whether you are starting a blog, business website, online store, portfolio, agency site, or service-based website, this pre-launch checklist will help you go live with fewer mistakes and a stronger foundation for SEO, user experience, and future growth.
And if you are still choosing where to host your site, Cloud Nest Hosting can help with hosting, domains, website builder options, support, and the technical foundation your new website needs before launch.
1. Confirm Your Website Goal Before Launch
Before checking plugins, speed, and SEO settings, make sure your website has a clear purpose. A website without a goal is harder to design, optimize, and measure.
- What should visitors do first: call, buy, subscribe, book, read, request a quote, or create an account?
- Who is the website for?
- What problem does the website solve?
- Which pages are essential for launch?
- What counts as a successful visit?
For most new website owners, the core launch pages should include:
- Homepage
- About page
- Service or product pages
- Contact page
- Privacy policy
- Terms and conditions, if needed
- Blog or resource section, if content marketing is part of your plan
2. Choose Reliable Hosting Before Anything Else
Your hosting affects speed, uptime, security, email reliability, backups, and how easily your website can grow. This is where many beginners make a costly mistake: they compare only the monthly price and ignore performance, support, SSL, backups, and scalability.
Competitors like GoDaddy, Hostinger, and Namecheap have made hosting feel like a quick checkout decision, but the better question is: “Will this hosting still support my site after traffic, emails, plugins, and security needs grow?”
Before launch, confirm your hosting includes:
- SSL certificate support
- Fast server response times
- Enough storage and bandwidth
- Easy domain connection
- Daily or regular backups
- Support when something breaks
- Room to upgrade as your website grows
How Cloud Nest Hosting can help: Cloud Nest Hosting offers website hosting, domain registration, domain transfer, a website builder, account support, and hosting order options from one place. That makes it easier for new website owners to manage the basics without jumping between several providers.
3. Secure Your Domain, SSL, and Basic Trust Signals
Your domain name should be easy to spell, easy to remember, and aligned with your brand. Once the domain is connected, check that your website loads correctly with HTTPS.
- Confirm the domain points to the correct hosting account.
- Install and activate SSL.
- Force HTTPS across the full website.
- Check that both www and non-www versions redirect correctly.
- Use one preferred domain version consistently.
- Set up professional email addresses if your business needs them.
HTTPS is not just a nice trust signal. It protects user data and helps visitors feel safe when submitting forms, logging in, or making purchases.
4. Review Every Page for Content Quality
Search engines are better than ever at evaluating whether content is helpful, clear, and trustworthy. Before launch, read every important page like a real visitor would.
- Does the page answer the visitor’s main question?
- Is the headline clear?
- Are services, pricing, or next steps easy to understand?
- Are there spelling or grammar mistakes?
- Is the content original?
- Are calls to action visible?
- Does each page have a clear purpose?
Avoid publishing thin pages just to “fill the menu.” A smaller site with useful pages is better than a bigger site full of weak, unfinished content.
5. Check On-Page SEO Essentials
Google’s own SEO Starter Guide recommends making pages easy for both users and search engines to understand. Before launch, every key page should have basic on-page SEO completed.
- Write a unique SEO title for each important page.
- Add a compelling meta description.
- Use one clear H1 heading per page.
- Structure sections with H2 and H3 headings.
- Use descriptive URLs, such as /web-hosting/ instead of /page?id=123.
- Add internal links between related pages.
- Optimize image file names and alt text.
- Avoid duplicate page titles and duplicate content.
Good SEO is not about stuffing keywords. It is about helping users and search engines understand what each page is about.
6. Create and Submit Your XML Sitemap
An XML sitemap helps search engines discover the URLs you want indexed. Google explains that sitemaps should include the canonical URLs you want shown in search results and can be submitted through Search Console or referenced in robots.txt.
- Generate an XML sitemap.
- Include only important public pages.
- Exclude admin pages, thank-you pages, duplicate pages, and thin utility pages.
- Submit the sitemap in Google Search Console.
- Add the sitemap URL to robots.txt.
- Check that the sitemap returns a valid 200 status.
7. Check Robots.txt and Indexing Settings
One of the most painful launch mistakes is accidentally blocking search engines. This often happens when a staging-site setting is left enabled.
- Make sure your live website is not set to “discourage search engines.”
- Check robots.txt for accidental blocks.
- Remove noindex tags from pages that should rank.
- Keep noindex on private, duplicate, checkout, cart, or thank-you pages where appropriate.
- Use Google Search Console’s URL Inspection tool after launch.
Google advises that important resources like CSS, JavaScript, and images should be accessible so Google can see the page properly.
8. Test Website Speed and Core Web Vitals
Website speed affects user experience, conversions, and SEO. According to web.dev, Google’s Core Web Vitals focus on three main user experience metrics:
- LCP: Largest Contentful Paint should be 2.5 seconds or faster.
- INP: Interaction to Next Paint should be 200 milliseconds or faster.
- CLS: Cumulative Layout Shift should be 0.1 or lower.
Before launch, test your homepage, service pages, blog posts, and checkout or contact pages.
- Compress images.
- Use modern image formats where possible.
- Remove unused plugins and scripts.
- Enable caching.
- Use a lightweight theme.
- Avoid heavy sliders and unnecessary animations.
- Test on mobile, not only desktop.
Your hosting provider matters here. A well-optimized site on weak hosting can still feel slow, especially when traffic increases.
9. Make Sure the Website Works on Mobile
Most visitors will not wait for a broken mobile experience. Before launch, open your site on multiple screen sizes and check the actual experience.
- Menus open and close properly.
- Buttons are easy to tap.
- Text is readable without zooming.
- Forms are easy to complete.
- Images resize correctly.
- No content overlaps.
- Popups do not block the full screen.
A website can look polished on a laptop and still fail badly on a phone, so mobile testing is not optional.
10. Check Accessibility Basics
Accessibility helps more people use your website and improves overall usability. The WCAG 2.2 guidelines include important standards such as text alternatives for non-text content and keyboard accessibility.
- Add meaningful alt text to important images.
- Use readable color contrast.
- Make forms usable with labels.
- Ensure buttons have clear names.
- Allow keyboard navigation.
- Avoid relying only on color to communicate meaning.
- Use descriptive link text instead of “click here.”
Accessibility is not just for large companies. It is part of building a professional, user-friendly website from day one.
11. Test Every Form and Call to Action
Forms are where leads, sales, and customer messages often happen. Test them before publishing.
- Submit the contact form.
- Check that the message arrives in the correct inbox.
- Test newsletter signup forms.
- Test quote request forms.
- Check spam protection.
- Confirm success messages are clear.
- Make sure error messages help users fix mistakes.
If your website has booking, checkout, account registration, or payment features, test the full journey from start to finish.
12. Set Up Analytics and Tracking
You cannot improve what you do not measure. Google’s GA4 setup guidance recommends completing additional configurations after basic data collection so your reports become more useful.
- Install Google Analytics 4.
- Set up Google Search Console.
- Connect Search Console with analytics where useful.
- Track key events such as form submissions, purchases, calls, signups, and downloads.
- Filter internal traffic where appropriate.
- Test that tracking works before launch.
For a business website, pageviews alone are not enough. Track the actions that actually matter.
13. Review Security Before Going Live
Security should be handled before launch, not after your first problem.
- Use strong admin passwords.
- Enable two-factor authentication where possible.
- Remove unused users.
- Delete unused plugins, themes, and test files.
- Keep WordPress, themes, and plugins updated.
- Install a reputable security plugin if using WordPress.
- Limit login attempts.
- Confirm backups are running.
Also check that your hosting account, domain account, email account, and CMS admin account all use secure passwords.
14. Verify Backups and Recovery
A backup is only useful if it can be restored. Before launch, confirm how your website is backed up and how quickly you can recover it.
- Check backup frequency.
- Confirm database and files are included.
- Know where backups are stored.
- Test the restore process if possible.
- Keep at least one backup before launch-day changes.
This is another area where a supportive hosting provider makes a real difference. Cloud Nest Hosting can help new site owners manage hosting support needs instead of leaving them to figure everything out alone.
15. Test Links, Navigation, and 404 Pages
Broken links make a new website feel unfinished and can hurt SEO crawling.
- Click every menu item.
- Check footer links.
- Test internal links inside pages and blog posts.
- Check external links open correctly.
- Create a helpful 404 page.
- Redirect old URLs if this is a redesign or migration.
If you are moving from an old website to a new one, redirects are especially important. Without them, users and search engines may land on broken pages.
16. Prepare Legal and Trust Pages
New website owners often forget trust-building pages until the last minute. Depending on your business, location, and data collection practices, you may need:
- Privacy policy
- Terms and conditions
- Cookie notice
- Refund policy
- Shipping policy
- Contact information
- Business address or service area
These pages help visitors understand who they are dealing with and how their information is handled.
17. Check Email Deliverability
If your website sends emails, test them before launch. This includes contact form notifications, account emails, order confirmations, password resets, and newsletter opt-ins.
- Send test emails from each form.
- Check spam folders.
- Set up proper email authentication where possible.
- Use a business email address instead of a free personal email.
- Confirm reply-to settings are correct.
A beautiful website is not helpful if customer inquiries never reach you.
18. Add Schema Markup Where It Makes Sense
Structured data can help search engines better understand your content. You do not need schema on every element, but common useful types include:
- Organization schema
- LocalBusiness schema
- Product schema
- Service schema
- FAQ schema
- Article schema
- Breadcrumb schema
Use schema honestly. It should describe content that is actually visible and useful on the page.
19. Create a Launch-Day Checklist
On launch day, do not rely on memory. Use a short final checklist.
- Take a full backup.
- Connect the live domain.
- Enable SSL and HTTPS redirects.
- Turn off maintenance mode.
- Allow indexing for public pages.
- Submit sitemap in Search Console.
- Test homepage, forms, menus, and checkout.
- Check analytics tracking.
- Test the site on mobile.
- Monitor errors for the first 24 to 48 hours.
20. Keep Improving After Launch
Publishing is not the finish line. It is the beginning of learning how real visitors use your website.
- Review Search Console indexing reports.
- Monitor analytics data.
- Fix pages with high bounce or low conversion rates.
- Publish helpful content regularly.
- Update plugins, themes, and CMS software.
- Review backups and security settings monthly.
- Improve speed as your site grows.
The best websites are not perfect on day one. They are maintained, measured, and improved over time.
Quick Pre-Launch Checklist Summary
- Clear website goal
- Reliable hosting
- Connected domain
- Active SSL
- Mobile-friendly design
- Optimized page titles and meta descriptions
- XML sitemap
- Robots.txt checked
- Google Search Console setup
- GA4 tracking installed
- Forms tested
- Backups confirmed
- Security settings reviewed
- Core Web Vitals tested
- Accessibility basics checked
- Broken links fixed
- Legal pages published
- Launch-day backup completed
Conclusion
A successful website launch is not about rushing online first. It is about making sure your site is fast, secure, searchable, mobile-friendly, accessible, measurable, and ready for real visitors. With the right checklist and a reliable hosting partner like Cloud Nest Hosting, new website owners can avoid common launch mistakes and build a stronger foundation from day one, so before you hit publish, is your website truly ready for visitors?


Be First to Comment