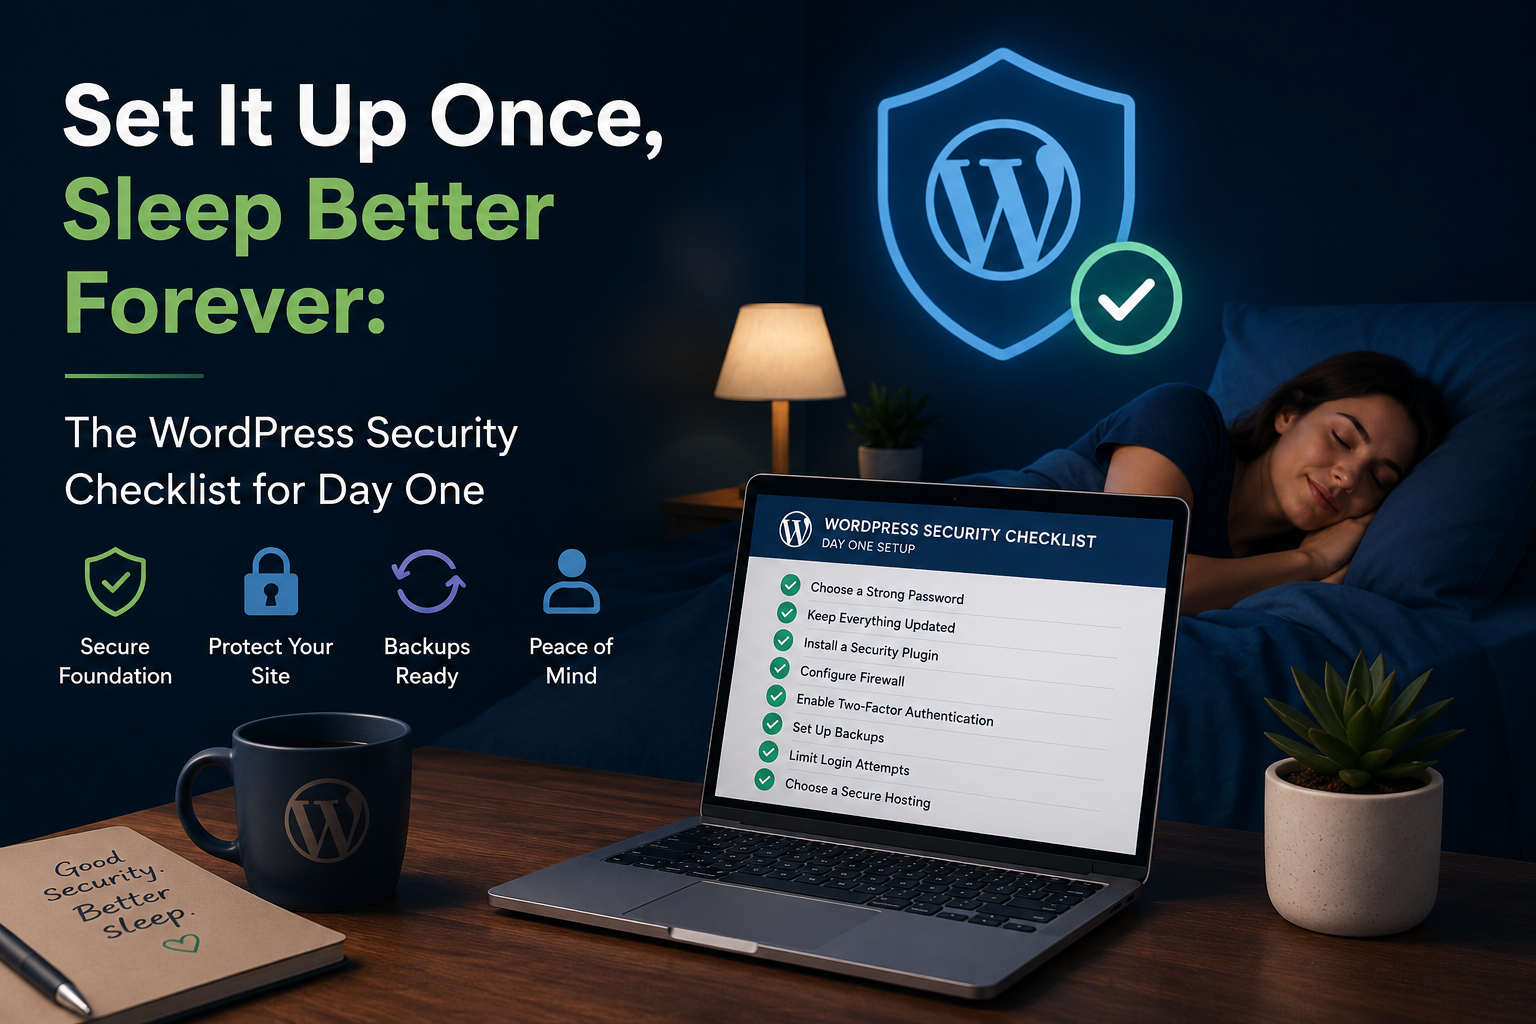
Launching a WordPress website is exciting, but day one is also the best time to secure it. A clean setup is easier to protect than a live site already filled with plugins, users, forms, orders, and customer data.
WordPress itself is actively maintained, but most real-world security problems come from weak passwords, outdated plugins, poor hosting setup, unsafe permissions, missing backups, and exposed admin access. The official WordPress hardening guide recommends layered protection across passwords, file permissions, database security, backups, logging, monitoring, and admin access.
Use this WordPress security checklist before you publish your site, connect ads, accept payments, or invite team members.
1. Choose Secure WordPress Hosting First
Your hosting environment is the foundation of your WordPress security. A good host should help protect your site at the server level, not leave everything to plugins.
Look for hosting that includes:
- SSL support
- Reliable uptime
- Regular server updates
- Malware-aware support
- Backup options
- Secure account access
- Fast support when something breaks
Cloudflare’s WordPress security guidance also points out that a WordPress website is only as secure as its hosting provider.
At Cloud Nest Hosting, we help website owners get started with hosting, domain registration, domain transfers, website builder options, and support through cloudnesthosting.net. If you are setting up WordPress for a business, blog, store, or portfolio, starting with a stable hosting provider makes every other security step easier.
2. Install the Latest Stable WordPress Version
Before adding themes or plugins, update WordPress core.
As of 2026, WordPress has continued releasing major and security updates, including WordPress 7.0 on May 20, 2026 and earlier security releases such as WordPress 6.9.4. The lesson is simple: do not treat updates as optional.
Day-one checklist:
- Go to Dashboard > Updates
- Install the latest stable WordPress version
- Turn on automatic minor/security updates
- Test major updates on a staging site when possible
Security updates often patch vulnerabilities before attackers can use them widely.
3. Use Strong Admin Credentials
Never use admin as your username. It is predictable, and attackers know to try it first.
Do this instead:
- Create a unique admin username
- Use a long password with at least 16 characters
- Store passwords in a password manager
- Never reuse your email, hosting, or WordPress password across accounts
A strong password is not exciting, but it is one of the cheapest security upgrades you will ever make.
4. Turn On Two-Factor Authentication
Two-factor authentication adds a second step after the password. Even if someone steals a password, they still need the one-time code.
Use 2FA for:
- Site administrators
- Editors
- Store managers
- Hosting account logins
- Domain registrar accounts
For WordPress, you can use a reputable security plugin or dedicated 2FA plugin. For your hosting account, enable 2FA wherever your provider supports it.
5. Limit Admin Accounts
Every admin account is a possible entry point. Give people only the access they need.
Use WordPress roles carefully:
- Administrator: only trusted technical owners
- Editor: content managers
- Author: writers who publish their own posts
- Contributor: writers who submit drafts
- Subscriber: basic user access
Delete unused accounts before launch. If a contractor finishes their work, remove or downgrade their access immediately.
6. Install Only Trusted Plugins and Themes
Plugins are powerful, but they are also one of the biggest security risk areas in WordPress. Wordfence vulnerability reporting continues to show frequent plugin and theme vulnerabilities across the WordPress ecosystem.
Before installing anything, check:
- Last updated date
- Active installations
- Reviews and support history
- Compatibility with your WordPress version
- Whether the plugin is truly necessary
Avoid installing five plugins when one trusted plugin can do the job. Fewer plugins usually means fewer update headaches and fewer attack surfaces.
7. Delete What You Do Not Use
Inactive plugins and themes can still become security risks. If you are not using something, remove it.
Day-one cleanup:
- Delete unused themes
- Delete inactive plugins
- Remove demo import tools after setup
- Remove sample pages and test users
- Remove abandoned plugins
Keep one default WordPress theme as a fallback if needed, but do not keep a pile of unused themes “just in case.”
8. Set Up Automatic Backups
Backups are your recovery plan. Without them, a small mistake can become a disaster.
Your backup setup should include:
- Daily or weekly backups depending on site activity
- Database and file backups
- Off-site storage
- Easy restore options
- Backup testing
For ecommerce, membership, or booking websites, daily backups may not be enough. You may need more frequent database backups because orders and customer records change quickly.
9. Force HTTPS With SSL
HTTPS protects data between the visitor and your website. It is also expected by browsers, users, and search engines.
Make sure:
- SSL is installed
- Your site loads with
https:// - HTTP redirects to HTTPS
- Mixed content warnings are fixed
- Admin pages use HTTPS
Cloud Nest Hosting can help users get their hosting and domain setup ready so WordPress can run with a secure SSL-based configuration from the beginning.
10. Protect the WordPress Login Area
Attackers often target the login page because it is easy to find.
Improve login security with:
- Login attempt limits
- Two-factor authentication
- Strong admin usernames
- Optional bot protection
- Monitoring for suspicious login attempts
Some site owners also change the default login URL, but do not rely on that alone. It can reduce noise, but real security still comes from strong authentication, updates, and server-level protection.
11. Disable File Editing in WordPress Admin
WordPress can allow admins to edit theme and plugin files from the dashboard. That sounds convenient, but it can be dangerous if an admin account is compromised.
Add this security rule to your setup process:
define( 'DISALLOW_FILE_EDIT', true );
This prevents direct file editing from the WordPress dashboard and reduces the damage an attacker can do through wp-admin.
12. Use Correct File Permissions
File permissions control who can read, write, or execute files on the server. Poor permissions can let attackers modify files they should not touch.
General guidance:
- Keep WordPress files writable only where needed
- Protect
wp-config.php - Avoid overly open permissions such as
777 - Use SFTP instead of plain FTP
If you are unsure, ask your hosting support team before changing permissions manually.
13. Add a Web Application Firewall
A web application firewall, or WAF, helps block malicious traffic before it reaches WordPress.
A WAF can help defend against:
- Common exploit attempts
- Bad bots
- Suspicious login traffic
- Known attack patterns
- Some plugin vulnerability scans
You can use a reputable WordPress security plugin, CDN-level firewall, or hosting-level protection depending on your setup.
14. Monitor Updates, Logs, and Alerts
Security is not something you set once and forget completely. You need simple monitoring.
Check regularly for:
- Failed login attempts
- New admin users
- Plugin updates
- Theme updates
- Unknown file changes
- Backup success or failure
- Suspicious traffic spikes
You do not need to stare at logs all day, but you do need alerts when something important changes.
15. Create a Simple Recovery Plan
If your site gets hacked, crashes, or breaks after an update, panic wastes time. A recovery plan gives you a calm path forward.
Write down:
- Hosting login location
- Domain registrar login
- Backup restore steps
- Support contact details
- Admin user list
- Plugin/theme license details
- Emergency maintenance page instructions
This is especially important for business websites where downtime costs money.
Quick Day-One WordPress Security Checklist
Use this before launch:
- Choose secure WordPress hosting
- Install the latest WordPress version
- Enable SSL and force HTTPS
- Use a unique admin username
- Set a strong password
- Enable two-factor authentication
- Remove unused users
- Install only trusted plugins and themes
- Delete inactive plugins and themes
- Enable automatic security updates
- Set up backups
- Test backup restore
- Disable dashboard file editing
- Review file permissions
- Add login protection
- Add a firewall
- Monitor security alerts
- Save a recovery plan
How Cloud Nest Hosting Can Help
Security starts with the right foundation. At Cloud Nest Hosting, users can get started with shared hosting, domain registration, domain transfers, website builder options, and support for launching their website.
Whether you are moving from another provider like GoDaddy, Hostinger, Namecheap, or starting fresh, Cloud Nest Hosting can help you put the basics in place: hosting, domain setup, support access, and a cleaner launch path for your WordPress site.
Conclusion
A secure WordPress site is not built from one magic plugin. It comes from smart hosting, strong logins, clean plugin choices, regular updates, reliable backups, SSL, monitoring, and a simple recovery plan.
Set these up on day one, and your website has a much better chance of staying fast, stable, and protected as it grows. Is your WordPress site ready to launch with security built in from the first day?
Sources used for research: WordPress Hardening Guide, WordPress 7.0 documentation, WordPress 6.9.4 security release notes, Cloudflare WordPress security guidance, OWASP Top 10, Google helpful content guidance, and Cloud Nest Hosting website.


Be First to Comment